Blog post co-written by Emma Matcham and Lauren Geiss
Today’s blog post is co-written by Emma Matcham and Lauren Geiss, and shares a protocol they developed for making maps in QGIS. This protocol started as an email Emma sent to a colleague in 2019 with directions for how to make a map for a multistate publication, and has since been forwarded to students and colleagues at least a dozen times. While the content isn’t perfect, it meets a common need among agriculture researches (displaying point data over a set of geographic boundaries) and we figured it’s time to clean up the protocol and share it somewhere with a more accessible link.
When Emma originally wrote this protocol, it was meant for QGIS2. Lauren user tested draft versions of this protocol and updated the information so it works with QGIS3.
Protocol Information
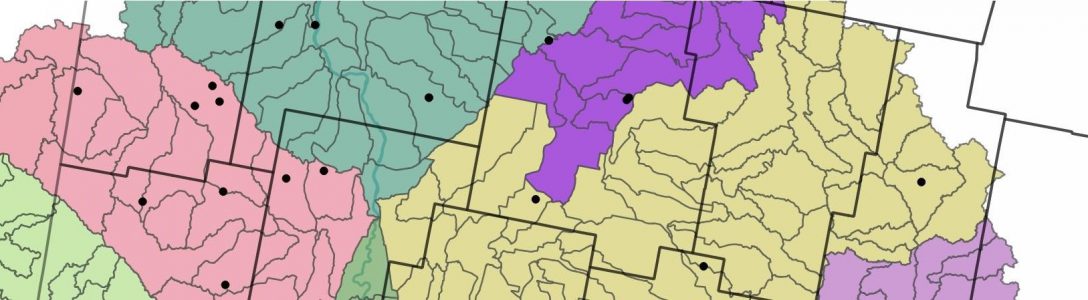
Objective: The objective of this protocol is to make a publication-quality map that includes a legend, scale bar, and other components of a readable map. This protocol walks through the general steps of opening your data files in QGIS, building your map layers, creating your print layout, and exporting your final image. In the example this protocol was built from, we were building a US map where trial locations from two different years were shown in two different marker types. You might need to modify the directions slightly to meet your data set and map needs.
Experience Level: This tutorial assumes you have general computer skills and map reading experience. If you have never used QGIS before, you might need to look up some terms or use the additional help options (shown in links within steps or at the bottom of the tutorial).
Materials: (1) Computer (Windows, MacOS, Linux) (2) The data you need to map (3) Any important information about file type and resolution for your target journal (if this map is for a publication)
Protocol
Step 1. Download and install QGIS (https://qgis.org/en/site/).
Step 2. Make a file folder for this project.
Step 3. Download the relevant background files needed for your project, and save them to your project file folder. You can find a shapefile of US states, US counties, or other common boundaries in shapefile format from the US Census Bureau website.
Step 4. Format your site location data using a .csv file. This file should have at least 2 columns: latitude (in decimal degrees) and longitude (in decimal degrees). You may also need a column for other data, such as growing season, crop, or another factor (these can be used to make different types of markers on the map). Save the .csv file to your project file folder. Add a site/plot/etc. name column if you intend to give labels to your points.
Step 5. Open QGIS.
Step 6. Save your project file now by clicking the save icon, giving it a file name, and saving it to your project file folder. Click the save button throughout the map making process to make sure your progress is saved to that new project file. QGIS does not auto-save like newer versions of Microsoft Office programs, so it’s really important to hit save regularly. If you have to close your project and restart on another day, you can open your project up again by clicking the .qgs project file in your project folder.
Step 7. Open the outline of US states (or your background vector file data) by clicking the Data Source Manager button on the QGIS main menu, navigating to the Vector tab, opening the .shp file that is saved in your project file folder (details on the data source manager: https://docs.qgis.org/3.16/en/docs/user_manual/managing_data_source/index.html).
Note: if your background file has a larger geographic extent than you want to show on your map, you have the option of deleting features. This might be helpful if you have all the US States in your shapefile, but only want to show three of the states. This stack exchange article is helpful for seeing how to select and delete features from a vector file in QGIS. If you don’t want to delete whole features but want some features to be invisible/transparent, you can learn to do that using the symbology/ style information in step 10.
Step 8. Open the site location .csv file by using the same Data Source Manager and navigating to the Delimited Text tab. Choose your csv file from the browse button. Make sure that CSV is the file format selected. Open the Geometry Definition tab and verify that the latitude/longitude fields are correctly ordered in the x/y fields (they may need to be flipped depending on where you got your GPS coordinates from). Then make sure to choose a projection from the Geometry CRS dropdown (likely the Project CRS WGS 84 option). Click Add and close the tab.
Note: At this point, your screen should have a map of the US in a randomly generated color, with your site locations in another randomly generated color. If you can’t see your site markers, change the order of the layers in the Layer Panel so that the .csv file name is above the .shp file name in the list (you can click and drag the layer/file names to change their order in the layer panel). If you still can’t see them or they aren’t lined up over the states correctly, you probably have a projection issue, and you might need to call Emma or another experienced GIS user to troubleshoot it.
Step 9. Change the color of the state map by right-clicking on the .shp file name in the layer panel and going to the Properties menu option. Go to the Control Feature Symbology tab on the left and then you should be able to change the color by using the menu options (details here in step 5: https://www.qgistutorials.com/en/docs/3/basic_vector_styling.html).
Step 10. Change the color of the site locations by going to the properties menu and styles tab for your .csv file. This is also where you change marker size. If you want to change the color or marker shape by year, go to the dropdown menu near the top that says “Single Symbol” and change it to “categorized” (details for changing the markers are available here: https://docs.qgis.org/2.8/en/docs/user_manual/working_with_vector/vector_properties.html)
Note: Your map should look pretty good now! If you like the colors and everything looks lined up, you’re ready to make a map layout with your legend, labels, etc. I’d recommend looking at a print composer tutorial for details on the legend, etc. (this one is nice and detailed: https://www.qgistutorials.com/en/docs/making_a_map.html, or this one has good overviews of where to find tools: https://docs.qgis.org/3.4/en/docs/training_manual/map_composer/map_composer.html)
Step 11. Open a new print layout by clicking project on the main menu in QGIS.
Step 12. Select “Add Item”, then “Add Map”, and use the marquee tool to draw a box for where your map will be placed in the layout. Then make a legend and add a scale bar and north arrow if you’d like (legend updates are annoying, but this tutorial summarizes the steps pretty clearly: https://www.eiu.edu/qgisworkshop/composer.php)
Step 13. Click the “Export as Image” tool and follow the prompts to save your map layout as an image file with at least 300 dpi resolution.
Extras Links
ColorBrewer is a great tool if you need help picking colors: https://colorbrewer2.org/#type=sequential&scheme=BuGn&n=3
This tutorial covers rule-based style and color options: https://www.qgistutorials.com/en/docs/3/basic_vector_styling.html
Blog post on QGIS tutorials—the klas karlsson video is very fast paced, but you don’t need to understand every single tool he mentions to still get a lot of value out of it (like learning what the menu icons mean, etc.) : https://spatiallychallenged.com/2019/11/22/qgis-3-tutorials/
A Gentle Introduction to GIS includes information about fundamentals, like what is a GIS and how do projections work (you don’t need to read the whole thing to get started, but it is here if you want to learn more): https://docs.qgis.org/3.16/en/docs/gentle_gis_introduction/index.html
